搭建自己的nexus私有仓库3--创建yum ius代理
本文档是nexus系列课程第3篇。
- nexus系列课程第1篇,请参考 搭建自己的nexus私有仓库1--nexus初体验
- nexus系列课程第2篇,请参考 搭建自己的nexus私有仓库2--创建python pypi代理
本文计划做以下事情:
- 使用nexus创建yum ius代理仓库。
以下是实验环境:
| 主机 | IP | 主机名 | 操作系统 | docker版本 | 自定义域名 |
|---|---|---|---|---|---|
| 1 | 192.168.56.11 | nexus | CentOS 7.6.1810 | 20.10.5 | nexushub.com |
| 2 | 192.168.56.12 | master | CentOS 7.6.1810 | 20.10.5 |
0. 准备工作
请在主机2以及你的电脑上面配置域名解析:
[root@master ~]# tail -n 1 /etc/hosts
192.168.56.11 nexushub.com注意,实际操作时,请将192.168.56.11替换成你服务器的内网IP或者公网IP,nexushub.com替换成你想使用的域名。
IUS相关介绍:
使用centos 经常发现官方提供的软件包版本过低,很多时候大家会选择下载源码自行编译,带来了很多麻烦。centos安装最新版本软件包,例如git,python等,可以通过红帽官方提供的software collection,或者社区提供的ius实现。 IUS是一个社区维护的软件源,全名是Inline with Upstream Stable,官网为https://ius.io/,通过github组织社区https://github.com/iuscommunity IUS被git帮助文档推荐作为centos等系统安装新版本git的第三方源:https://git-scm.com/download/linux 。
清华大学源使用的ius.repo文件:
[ius]
name = IUS for Enterprise Linux 7 - $basearch
baseurl = https://mirrors.tuna.tsinghua.edu.cn/ius/7/$basearch/
enabled = 1
repo_gpgcheck = 0
gpgcheck = 1
gpgkey = file:///etc/pki/rpm-gpg/RPM-GPG-KEY-IUS-7

[ius-debuginfo]
name = IUS for Enterprise Linux 7 - $basearch - Debug
baseurl = https://mirrors.tuna.tsinghua.edu.cn/ius/7/$basearch/debug/
enabled = 0
repo_gpgcheck = 0
gpgcheck = 1
gpgkey = file:///etc/pki/rpm-gpg/RPM-GPG-KEY-IUS-7

[ius-source]
name = IUS for Enterprise Linux 7 - Source
baseurl = https://mirrors.tuna.tsinghua.edu.cn/ius/7/src/
enabled = 0
repo_gpgcheck = 0
gpgcheck = 1
gpgkey = file:///etc/pki/rpm-gpg/RPM-GPG-KEY-IUS-71. nexus创建yum ius代理仓库
上一节中,我们知道通过点击页面顶部的齿轮设置图标:
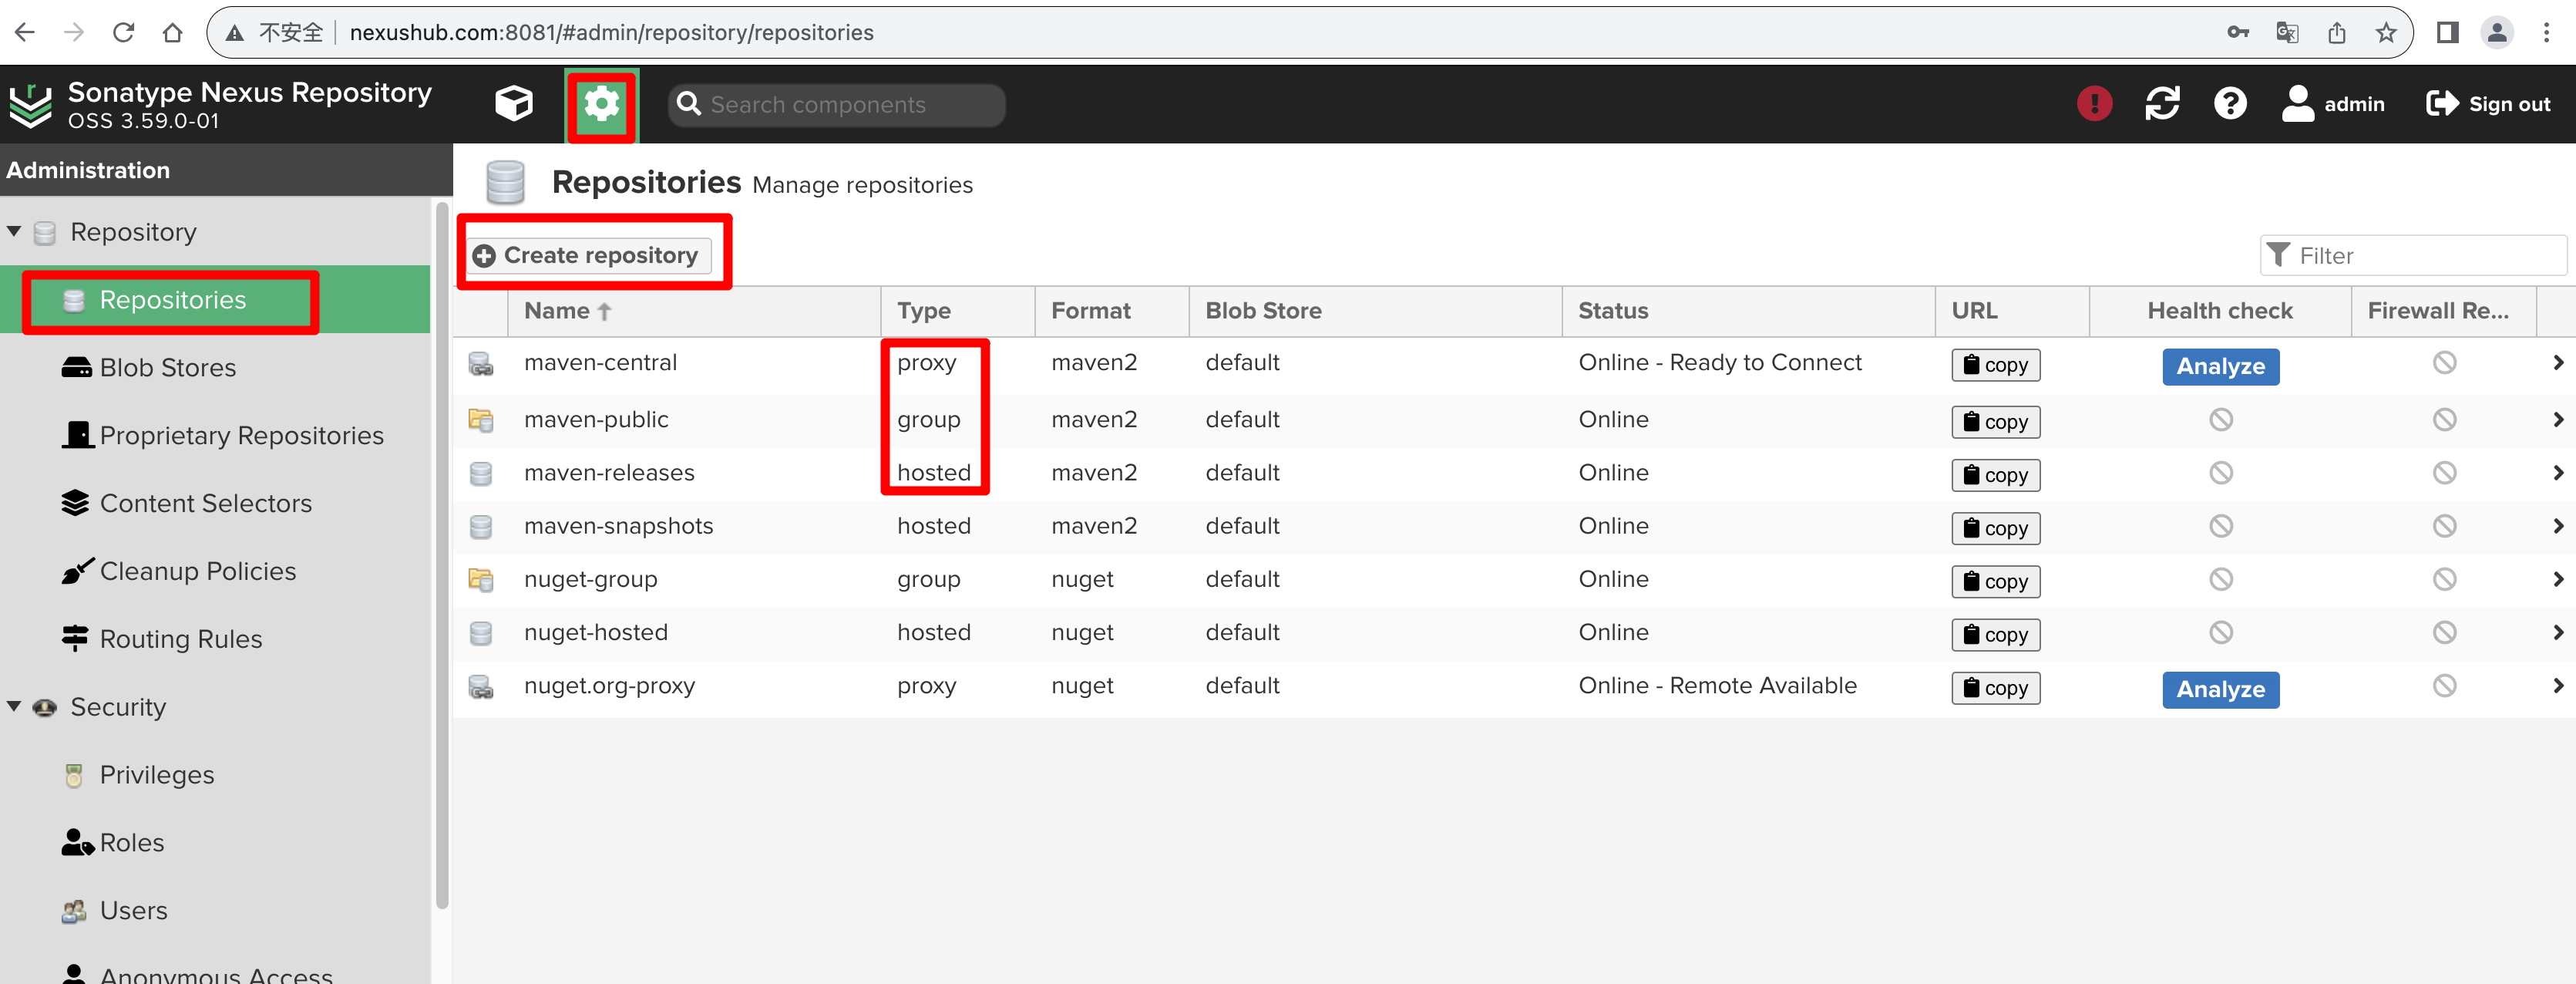 进入到设置页面后,点击左侧的【Repositories】进入到仓库管理页面,点击【Create Repository】按钮,我们需要使用的yum仓库,将页面拉到最底部,可以看到
yum(proxy):
 我们直接点击
yum(proxy)进入到yum代理仓库配置界面:
 可以看到,有很多地方空白着,需要我们填写。
- Name: 仓库名,需要唯一,不能与其他已经仓库的仓库重名,最好能通过名称知道仓库的意义。如我们ius代理仓库,我们直接命名为ius-proxy。
- Remote storage: 远程存储仓库的URL地址,如我们直接代理清华大学的yum ius源,其地址是 https://mirrors.tuna.tsinghua.edu.cn/ius/。
- HTTP request setting,HTTP请求设置,我们一般只需要设置一下User-Agent请求头即可,如填写"Sync ius repo. email: mzh.whut@gmail.com"。
配置完成后,保存。
保存后,点击新创建的ius-proxy仓库,可以看到仓库详情:  这里的URL http://nexushub.com:8081/repository/ius-proxy/ 就是我们代理仓库的地址。
2. yum仓库配置
对准备工作中清华大学的ius.repo文件进行修改,直接将其中的https://mirrors.tuna.tsinghua.edu.cn/ius/替换成http://nexushub.com:8081/repository/ius-proxy/,为了确认后面yum使用的是我们的代理仓库,将配置文件中[ius]修改[nexushub-ius],加上前缀nexushub-,方便区分。
修改后的配置文件ius.repo内容如下:
[nexushub-ius]
name = IUS for Enterprise Linux 7 - $basearch
baseurl = http://nexushub.com:8081/repository/ius-proxy/7/$basearch/
enabled = 1
repo_gpgcheck = 0
gpgcheck = 1
gpgkey = file:///etc/pki/rpm-gpg/RPM-GPG-KEY-IUS-7

[nexushub-ius-debuginfo]
name = IUS for Enterprise Linux 7 - $basearch - Debug
baseurl = http://nexushub.com:8081/repository/ius-proxy/7/$basearch/debug/
enabled = 0
repo_gpgcheck = 0
gpgcheck = 1
gpgkey = file:///etc/pki/rpm-gpg/RPM-GPG-KEY-IUS-7

[nexushub-ius-source]
name = IUS for Enterprise Linux 7 - Source
baseurl = http://nexushub.com:8081/repository/ius-proxy/7/src/
enabled = 0
repo_gpgcheck = 0
gpgcheck = 1
gpgkey = file:///etc/pki/rpm-gpg/RPM-GPG-KEY-IUS-7将配置文件存放到/etc/yum.repo.d目录,然后查看配置信息:
[root@master ~]# ll /etc/yum.repos.d/ius.repo
-rw-r--r-- 1 root root 655 Jan 20 15:54 /etc/yum.repos.d/ius.repo
[root@master ~]# cat /etc/yum.repos.d/ius.repo
[nexushub-ius]
name = IUS for Enterprise Linux 7 - $basearch
baseurl = http://nexushub.com:8081/repository/ius-proxy/7/$basearch/
enabled = 1
repo_gpgcheck = 0
gpgcheck = 1
gpgkey = file:///etc/pki/rpm-gpg/RPM-GPG-KEY-IUS-7

[nexushub-ius-debuginfo]
name = IUS for Enterprise Linux 7 - $basearch - Debug
baseurl = http://nexushub.com:8081/repository/ius-proxy/7/$basearch/debug/
enabled = 0
repo_gpgcheck = 0
gpgcheck = 1
gpgkey = file:///etc/pki/rpm-gpg/RPM-GPG-KEY-IUS-7

[nexushub-ius-source]
name = IUS for Enterprise Linux 7 - Source
baseurl = http://nexushub.com:8081/repository/ius-proxy/7/src/
enabled = 0
repo_gpgcheck = 0
gpgcheck = 1
gpgkey = file:///etc/pki/rpm-gpg/RPM-GPG-KEY-IUS-7
[root@master ~]#更新软件包缓存:
[root@master ~]# yum makecache
Loaded plugins: fastestmirror, langpacks
Loading mirror speeds from cached hostfile
jenkins                                                                                          | 2.9 kB  00:00:00
nexushub-epel                                                                                    | 3.3 kB  00:00:00
nexushub-extras                                                                                  | 1.5 kB  00:00:00
nexushub-ius                                                                                     | 1.3 kB  00:00:00
nexushub-os                                                                                      | 2.2 kB  00:00:00
nexushub-updates                                                                                 | 1.5 kB  00:00:00
(1/6): nexushub-ius/x86_64/primary                                                               |  40 kB  00:00:00
(2/6): nexushub-ius/x86_64/other                                                                 |  21 kB  00:00:00
(3/6): nexushub-ius/x86_64/filelists                                                             | 396 kB  00:00:00
(4/6): nexushub-epel/x86_64/other                                                                | 2.4 MB  00:00:00
(5/6): nexushub-updates/7/x86_64/other                                                           | 1.1 MB  00:00:00
(6/6): jenkins/other_db                                                                          | 264 kB  00:00:02
nexushub-epel                                                                                               13786/13786
nexushub-ius                                                                                                    159/159
nexushub-ius                                                                                                    159/159
nexushub-ius                                                                                                    159/159
nexushub-updates                                                                                              5568/5568
Metadata Cache Created
[root@master ~]#可以看到,缓存创建成功!
对比原来epel仓库和新配置的ius仓库里面某个软件的版本信息,如发现redis在两个仓库中都有,我们对比看下:
[root@master ~]# yum info redis|grep -E 'Version|Repo'
Version     : 3.2.12
Repo        : nexushub-epel/x86_64
[root@master ~]# yum info redis6|grep -E 'Version|Repo'
Version     : 6.2.13
Repo        : nexushub-ius/x86_64
[root@master ~]#可以看到,在epel源中redis版本较低,为3.2.12; 而在ius源中redis版本相对较新,为6.2.13;在redis官网可以看到Redis 7.2.4 Released Tue 09 Jan 2024 10:45:52 IST,即Redis 7.2.4发布于2024年1月9日星期二10:45:52 IST ,虽然ius上面的包不是最新,但相对来说已经很新了。
安装包:
[root@master ~]# yum install redis6 -y
Loaded plugins: fastestmirror, langpacks
Loading mirror speeds from cached hostfile
Resolving Dependencies
--> Running transaction check
---> Package redis6.x86_64 0:6.2.13-1.el7.ius will be installed
--> Finished Dependency Resolution

Dependencies Resolved

========================================================================================================================
 Package                 Arch                    Version                            Repository                     Size
========================================================================================================================
Installing:
 redis6                  x86_64                  6.2.13-1.el7.ius                   nexushub-ius                  1.1 M

Transaction Summary
========================================================================================================================
Install  1 Package

Total download size: 1.1 M
Installed size: 3.6 M
Downloading packages:
redis6-6.2.13-1.el7.ius.x86_64.rpm                                                               | 1.1 MB  00:00:00
Running transaction check
Running transaction test
Transaction test succeeded
Running transaction
  Installing : redis6-6.2.13-1.el7.ius.x86_64                                                                       1/1
  Verifying  : redis6-6.2.13-1.el7.ius.x86_64                                                                       1/1

Installed:
  redis6.x86_64 0:6.2.13-1.el7.ius

Complete!
[root@master ~]#可以看到,很快就安装成功了!
查看redis版本信息:
[root@master ~]# /usr/bin/redis-server --version
Redis server v=6.2.13 sha=00000000:0 malloc=jemalloc-5.1.0 bits=64 build=d31058623096c72b
[root@master ~]# /usr/bin/redis-cli --version
redis-cli 6.2.13
[root@master ~]#可以看到redis版本是我们安装的版本,说明我们的ius yum代理仓库配置正确,代理仓库能够正常工作了!
3. 自动化配置准备
为了以后通过nexus api接口创建nexus仓库的自动化配置,将ius-proxy代理仓库的相关信息配置到nexus.yaml配置文件中。
nexus_info:
  Repositories:
    - name: yum-proxy
      type: proxy
      format: yum
      remote_url: https://mirrors.tuna.tsinghua.edu.cn/centos/
      user_agent: Sync yum repo

    - name: epel-proxy
      type: proxy
      format: yum
      remote_url: https://mirrors.tuna.tsinghua.edu.cn/epel/
      user_agent: Sync yum repo

    - name: ius-proxy
      type: proxy
      format: yum
      remote_url: https://mirrors.tuna.tsinghua.edu.cn/ius/
      user_agent: Sync yum repo

    - name: pypi-proxy
      type: proxy
      format: pypi
      remote_url: https://pypi.tuna.tsinghua.edu.cn
user_agent: Sync python pypi repo使用Python读取YAML配置文件,可参考 读取yaml配置文件 。