使用Hugo创建自己的博客
可参考B站视频 【雷】Hugo + Github免费搭建博客,并实现自动化部署
1. 安装hugo
依次打开 hugo github官方仓库 ,并点击【Tags】,跳转到标签页:
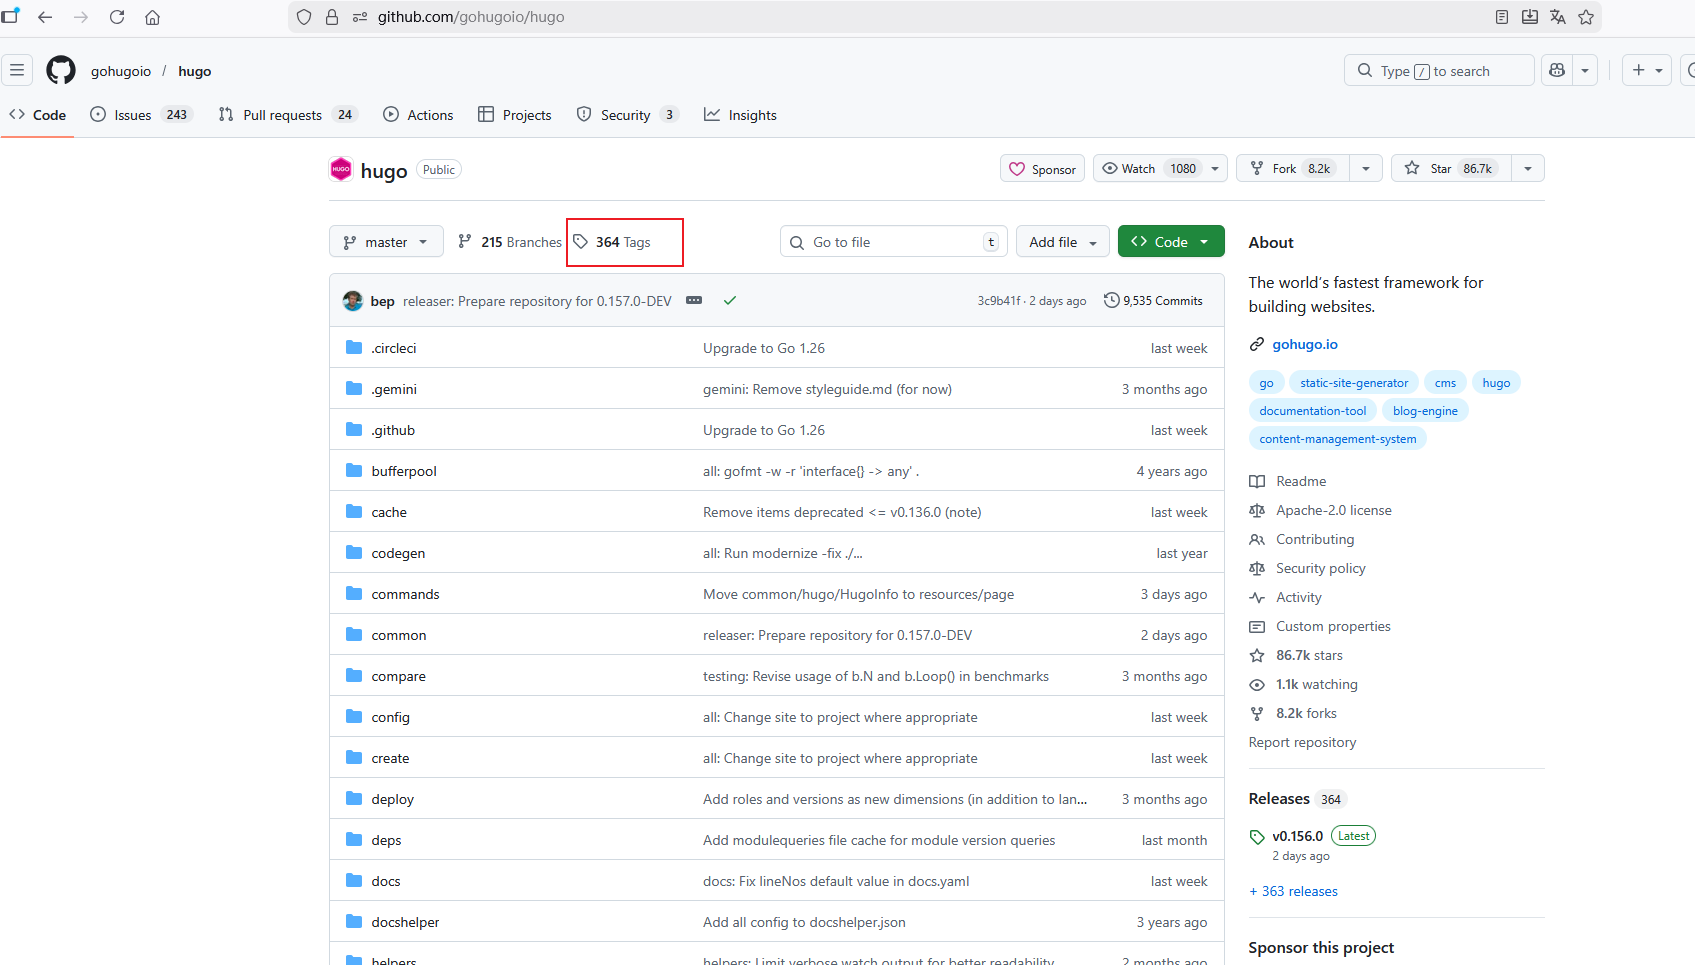
选择比较新的标签,然后点击右侧的【Downloads】跳转到下载页面:
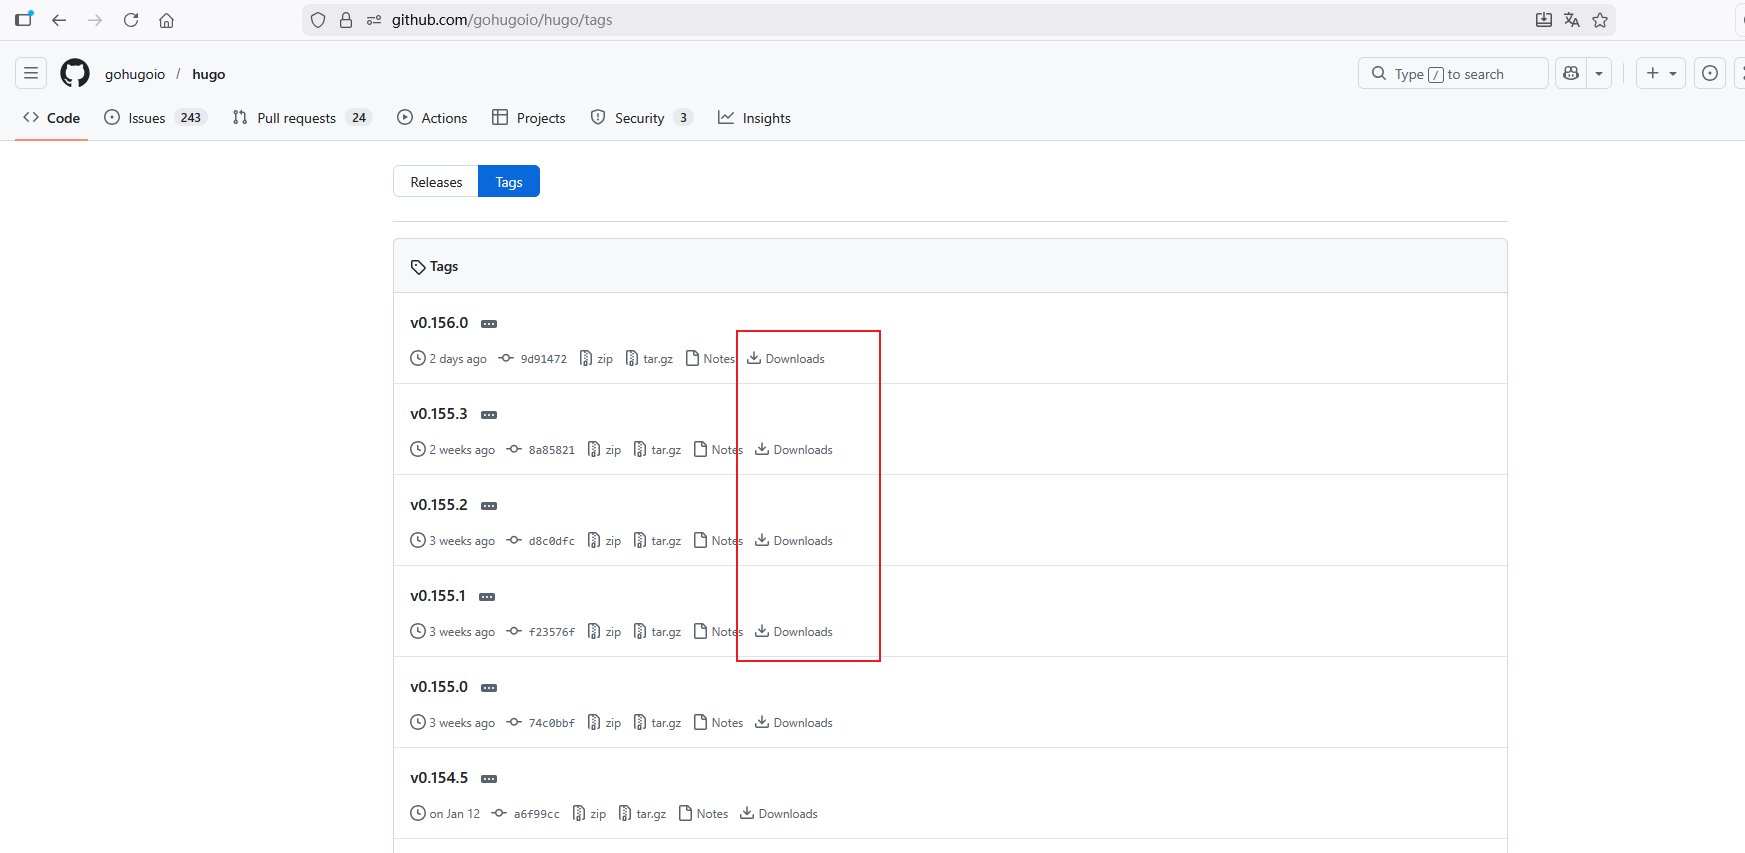
我选择的是v0.155.1 这个版本。
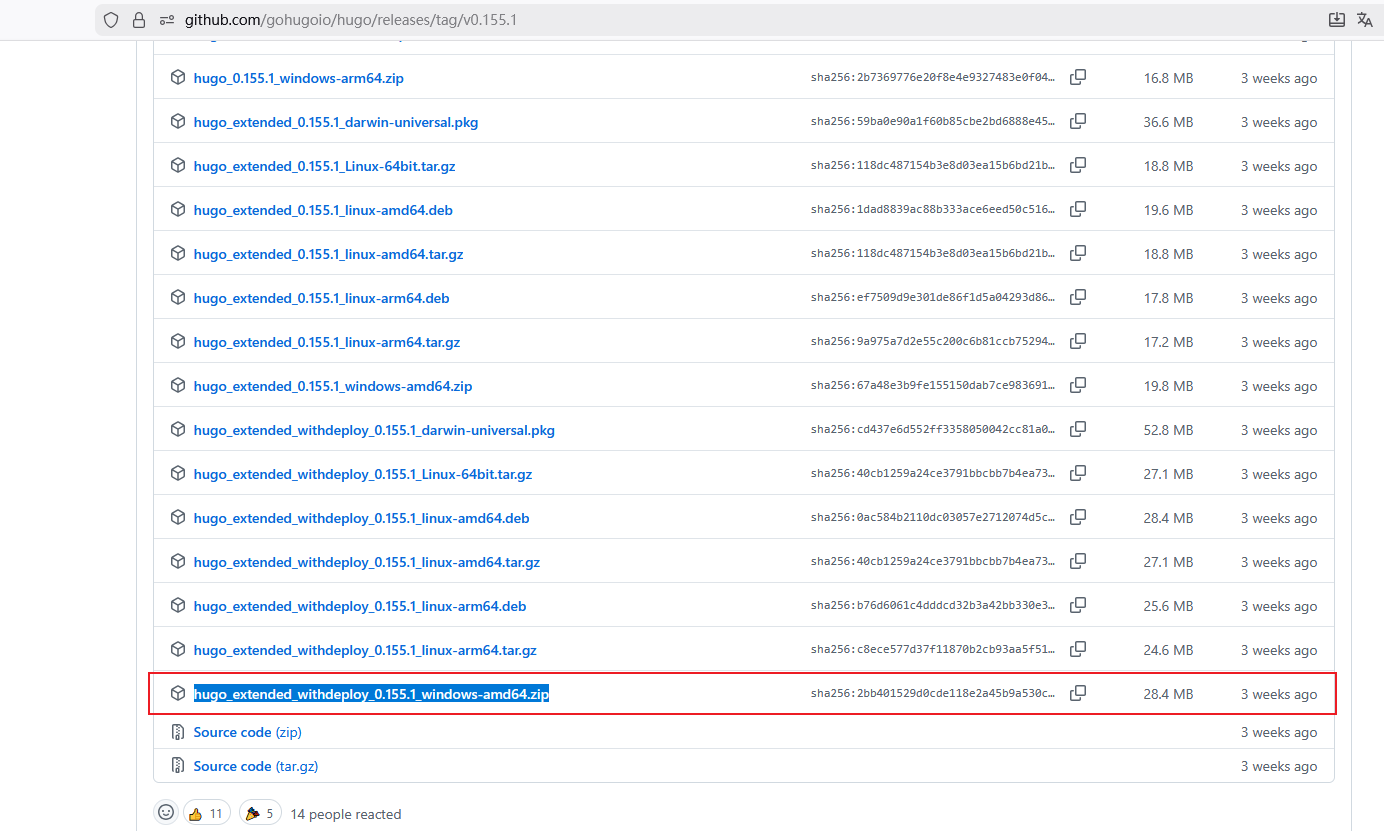
下载 hugo_extended_withdeploy_0.155.1_windows-amd64.zip 后,将压缩包解压后,将解压后的hugo.exe、LICENSE和README.md复制到文件夹 D:\ProgramFiles\hugo\hugo_0.155.1_windows-amd64 目录下。
并将D:\Downloads\hugo_extended_withdeploy_0.155.1_windows-amd64路径加入到PATH环境变量中,我使用mobaxterm终端,将以下PATH配置加入到~/.bashrc配置文件中。
1
| export PATH=/drives/d/ProgramFiles/hugo/hugo_0.155.1_windows-amd64:$PATH
|
然后重新打开一个终端,就可以使用hugo命令了:
1
2
3
| # 查看hugo版本信息
$ hugo version
hugo v0.155.1-f23576f2fb8d1b45d981a5e87e75b4cefa381592+extended+withdeploy windows/amd64 BuildDate=2026-01-30T10:10:48Z VendorInfo=gohugoio
|
查看hugo命令的帮助信息:
 1
 2
 3
 4
 5
 6
 7
 8
 9
10
11
12
13
14
15
16
17
18
19
20
21
22
23
24
25
26
27
28
29
30
31
32
33
34
35
36
37
38
39
40
41
42
43
44
45
46
47
48
49
50
51
52
53
54
55
56
57
58
59
60
61
62
63
64
65
66
67
68
69
70
71
72
73
| $ hugo --help
hugo is the main command, used to build your Hugo site.
Hugo is a Fast and Flexible Static Site Generator
built with love by spf13 and friends in Go.
Complete documentation is available at https://gohugo.io/.
Usage:
hugo [flags]
hugo [command]
Available Commands:
build Build your site
completion Generate the autocompletion script for the specified shell
config Display site configuration
convert Convert front matter to another format
deploy Deploy your site to a cloud provider
env Display version and environment info
gen Generate documentation and syntax highlighting styles
help Help about any command
import Import a site from another system
list List content
mod Manage modules
new Create new content
server Start the embedded web server
version Display version
Flags:
-b, --baseURL string hostname (and path) to the root, e.g. https://spf13.com/
-D, --buildDrafts include content marked as draft
-E, --buildExpired include expired content
-F, --buildFuture include content with publishdate in the future
--cacheDir string filesystem path to cache directory
--cleanDestinationDir remove files from destination not found in static directories
--clock string set the clock used by Hugo, e.g. --clock 2021-11-06T22:30:00.00+09:00
--config string config file (default is hugo.yaml|json|toml)
--configDir string config dir (default "config")
-c, --contentDir string filesystem path to content directory
-d, --destination string filesystem path to write files to
--disableKinds strings disable different kind of pages (home, RSS etc.)
--enableGitInfo add Git revision, date, author, and CODEOWNERS info to the pages
-e, --environment string build environment
--forceSyncStatic copy all files when static is changed.
--gc enable to run some cleanup tasks (remove unused cache files) after the build
-h, --help help for hugo
--ignoreCache ignores the cache directory
--ignoreVendorPaths string ignores any _vendor for module paths matching the given Glob pattern
-l, --layoutDir string filesystem path to layout directory
--logLevel string log level (debug|info|warn|error)
--minify minify any supported output format (HTML, XML etc.)
--noBuildLock don't create .hugo_build.lock file
--noChmod don't sync permission mode of files
--noTimes don't sync modification time of files
--panicOnWarning panic on first WARNING log
--poll string set this to a poll interval, e.g --poll 700ms, to use a poll based approach to watch for file system changes
--printI18nWarnings print missing translations
--printMemoryUsage print memory usage to screen at intervals
--printPathWarnings print warnings on duplicate target paths etc.
--printUnusedTemplates print warnings on unused templates.
--quiet build in quiet mode
--renderSegments strings named segments to render (configured in the segments config)
-M, --renderToMemory render to memory (mostly useful when running the server)
-s, --source string filesystem path to read files relative from
--templateMetrics display metrics about template executions
--templateMetricsHints calculate some improvement hints when combined with --templateMetrics
-t, --theme strings themes to use (located in /themes/THEMENAME/)
--themesDir string filesystem path to themes directory
--trace file write trace to file (not useful in general)
-w, --watch watch filesystem for changes and recreate as needed
Use "hugo [command] --help" for more information about a command.
$
|
创建博客项目,官方给的示例命令:
1
2
3
4
5
6
| hugo new project quickstart
cd quickstart
git init
git submodule add https://github.com/theNewDynamic/gohugo-theme-ananke.git themes/ananke
echo "theme = 'ananke'" >> hugo.toml
hugo server
|
2. 安装主题
可以在hugo主题页查找你喜欢的主题,并参考相应主题的说明文件配置即可。
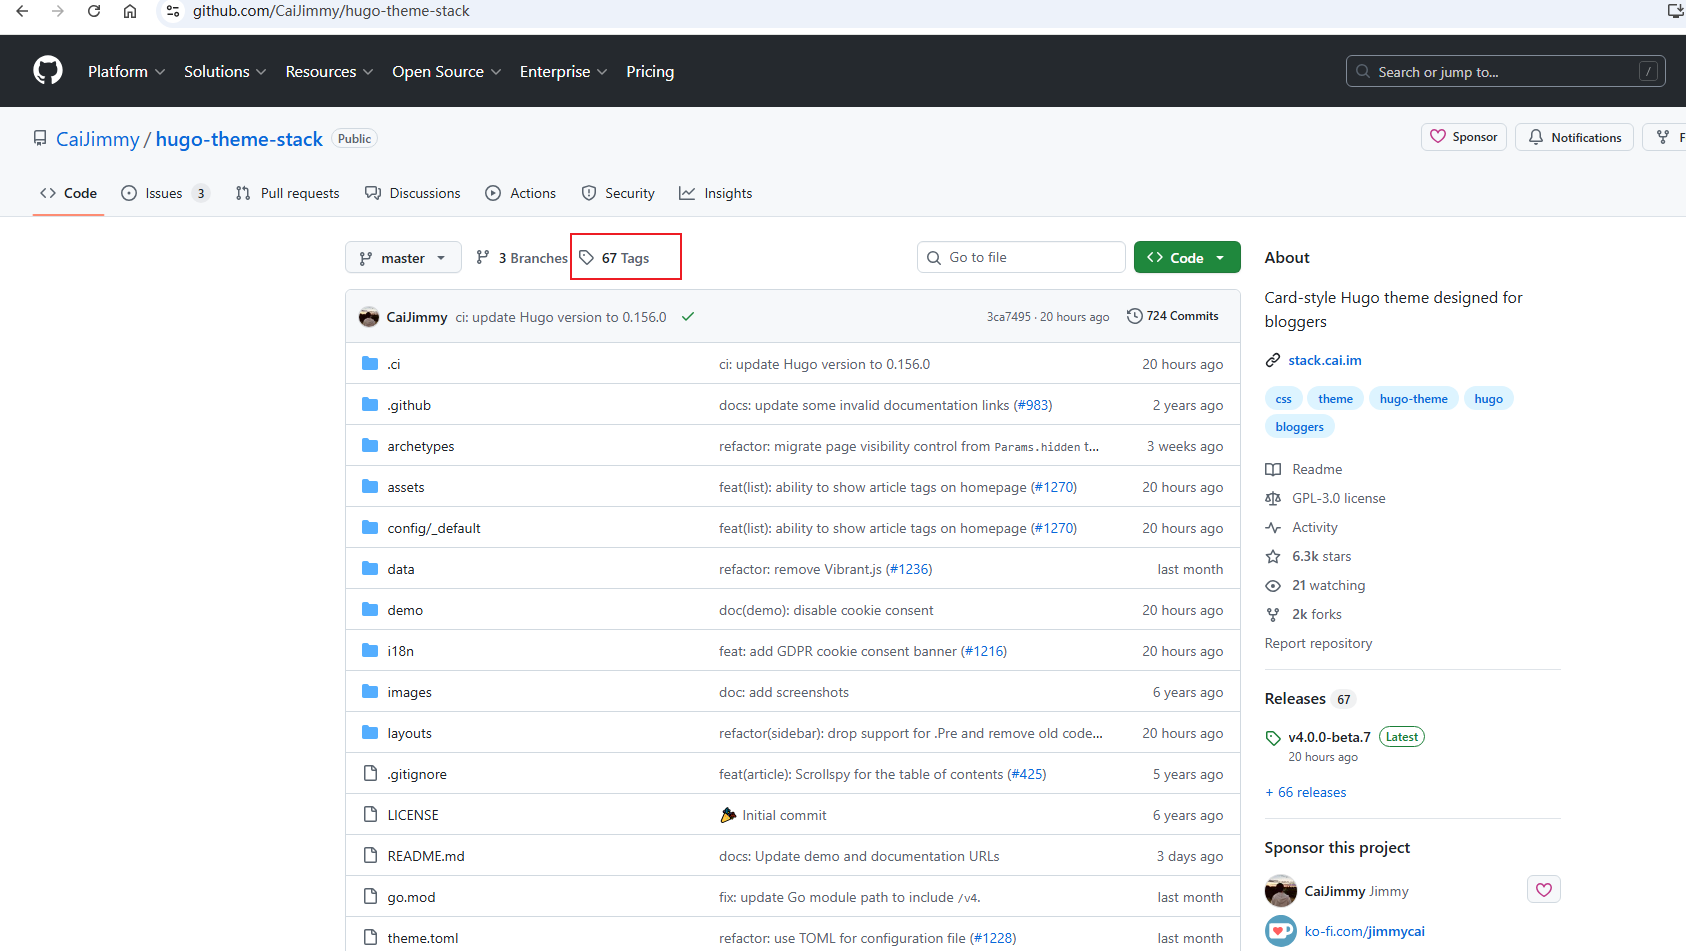
我这边使用的是Stack主题,其官方地址是 https://github.com/CaiJimmy/hugo-theme-stack。
选择一个新的Tag标签下载相应的主题文件:
我下载了v.3.34.1这个版本,下载完成并解压zip压缩包:
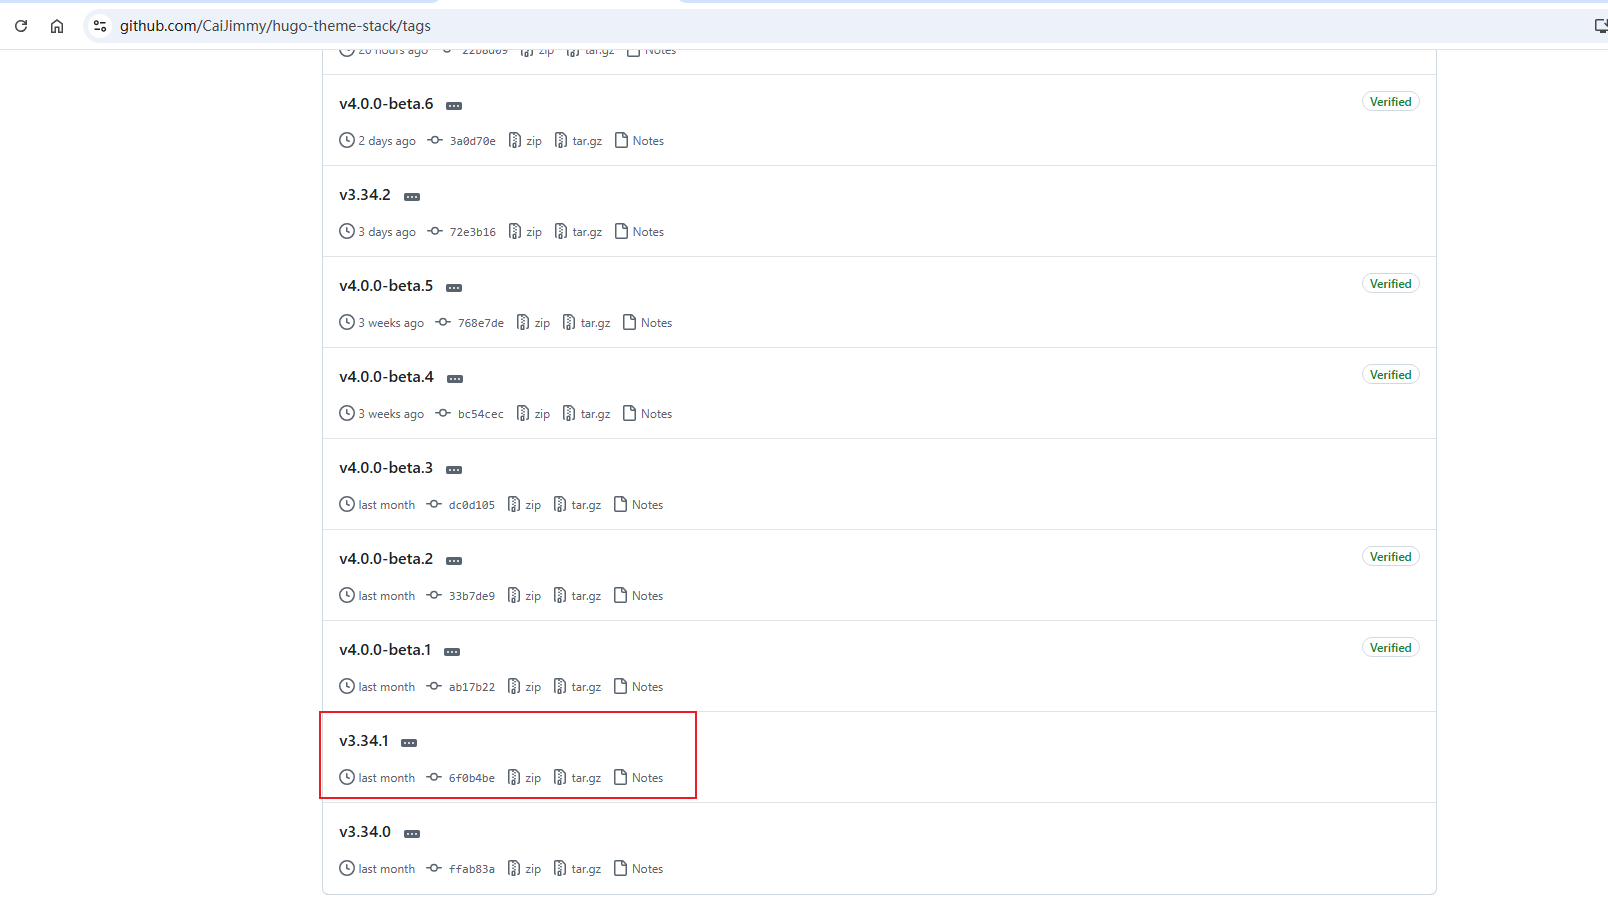
解压后,得到文件夹 hugo-theme-stack-3.34.1,将hugo-theme-stack-3.34.1目录复制到博客项目的themes目录下,将并hugo-theme-stack-3.34.1重命名为hugo-theme-stack:
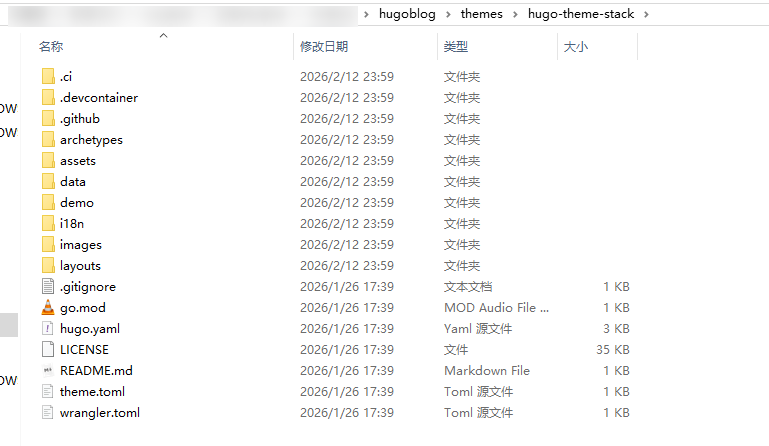
这种方式将这种主题固定到我的git仓库中,后期不会随着主题仓库变更而变更。
3. 主题设置
我对Stack进行了修改,不是完全和原主题一样。
Stack主题配置可参考:https://stack.cai.im/guide/getting-started
4. github自动化部署
4.1 创建github token
在https://github.com/settings/tokens/ 点击新建Token,并选择经典【 token (classic)】,然后填写相关信息:
- Note 指定标记信息,我填写:
github pages自动化部署Token - Expiration 过期时间,选择
No expiration 永不过期,注意要将使用这个token的仓库设置为私有,否则有token泄露风险。 - Select scopes 选择范围,仅选择
repo和workflow即可。
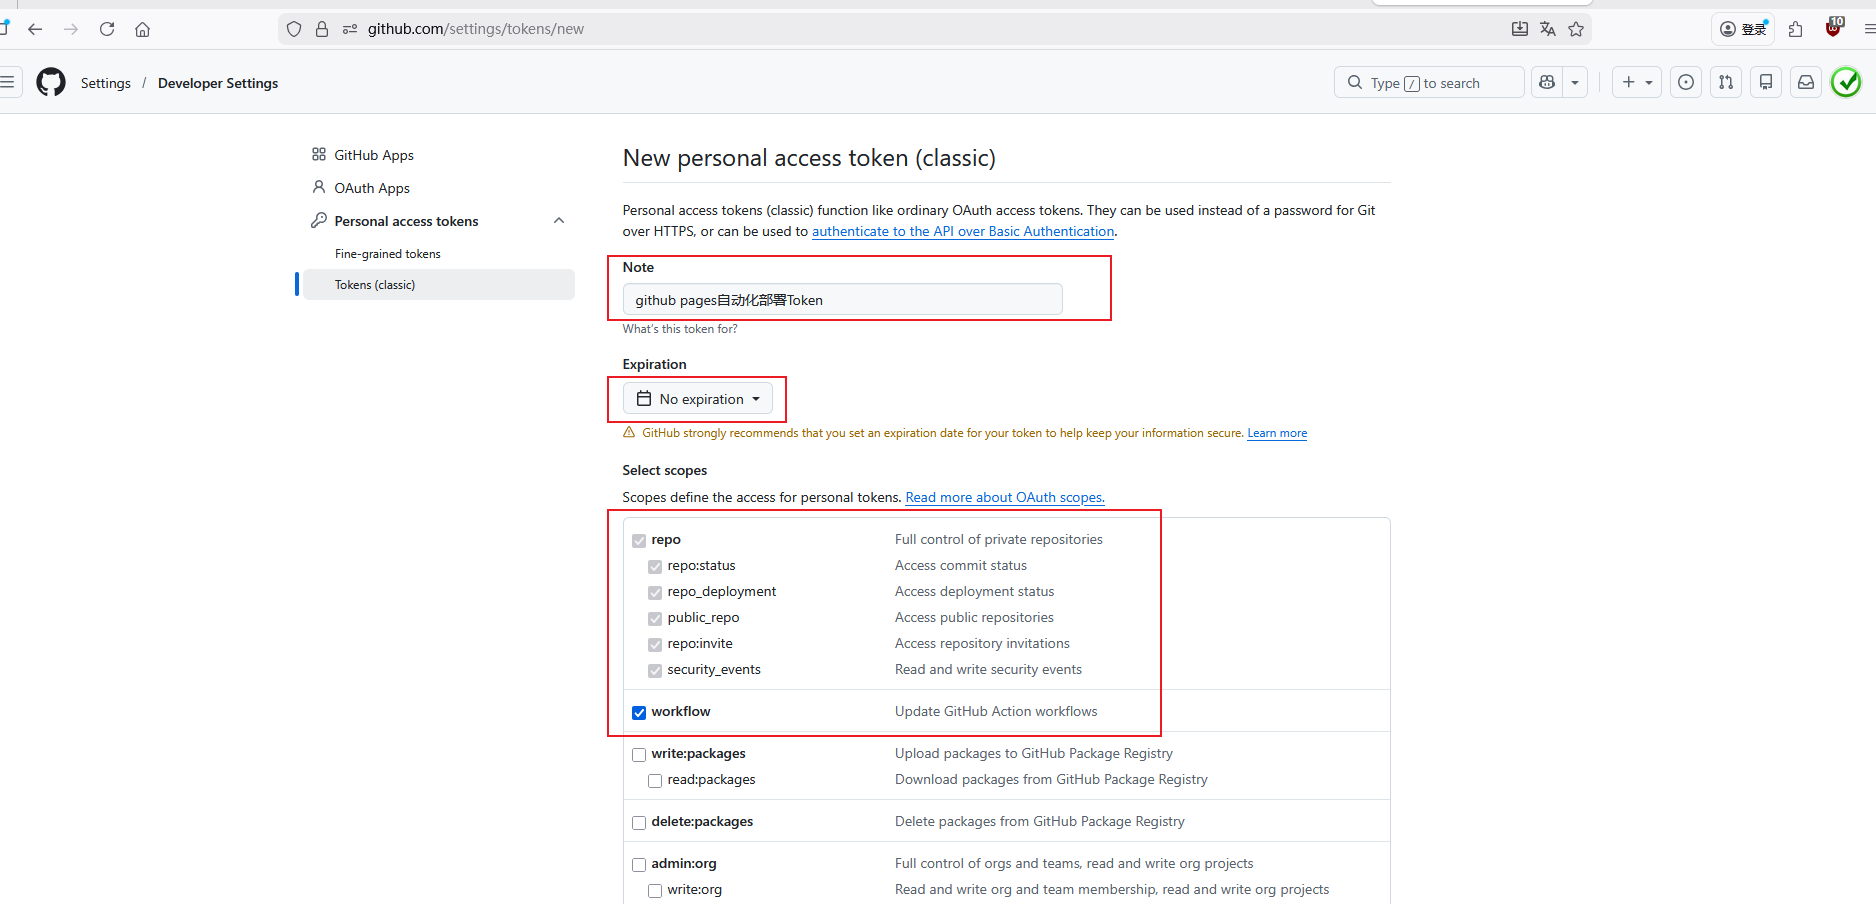
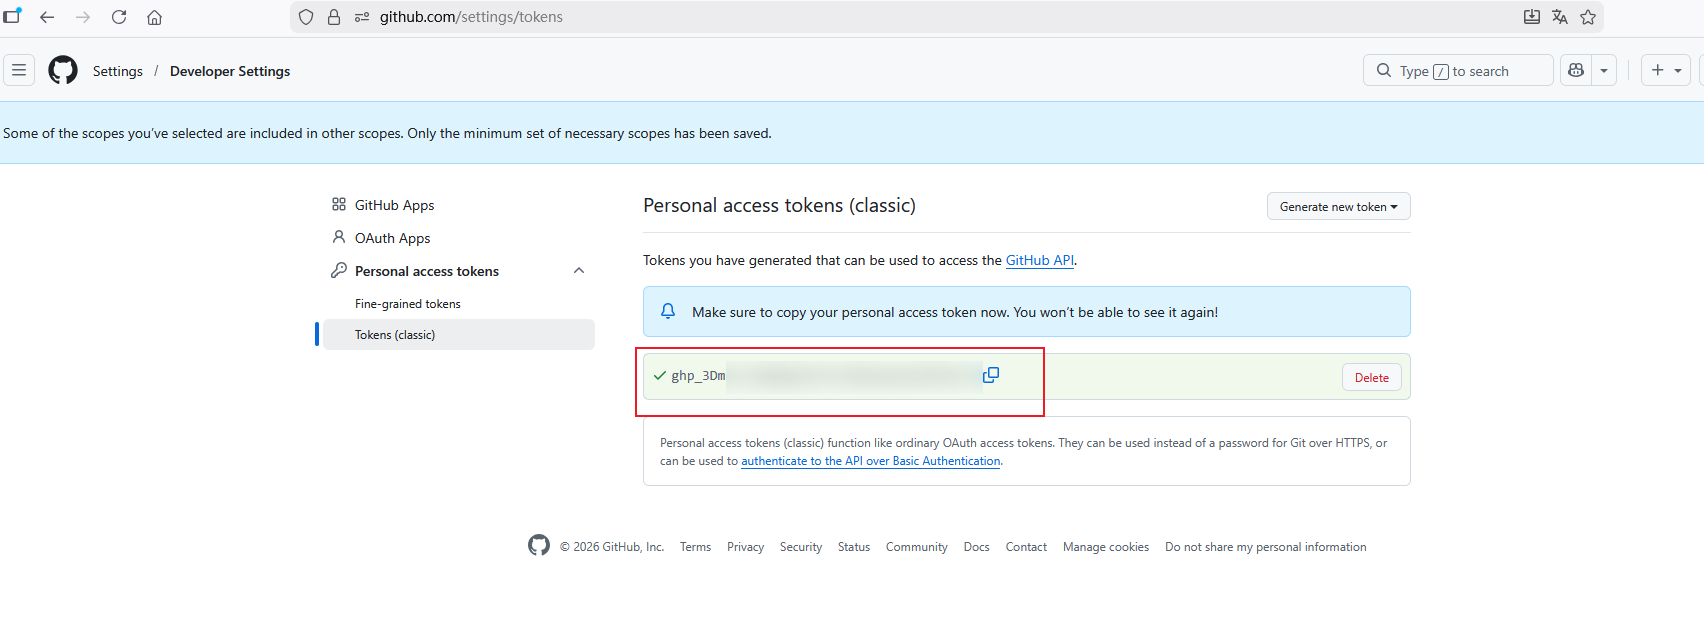
最后点击底部的【Generate token】创建token。
此时会生成一个Token字符串,只会显示一次,请复制到别处保存一下:
4.2 创建仓库环境变量
- 不要将token值直接写入到仓库的文件中,而是使用仓库环境变量来配置token值,保证别人不能获取到你的token值信息。

依次在自己博客仓库点击【Settings】—【Secrets and variables】—【Actions】—【New repository secret】创建新的仓库机密配置。
在弹出的页面填写机密的相关信息:
- Name处填写变量的名称,如
GITHUB_PAGES_TOKEN (注意,这个名称有问题,不能以GITHUB开头) - Secret处填写上一节你获取到的Token值,不要让别人知道!!
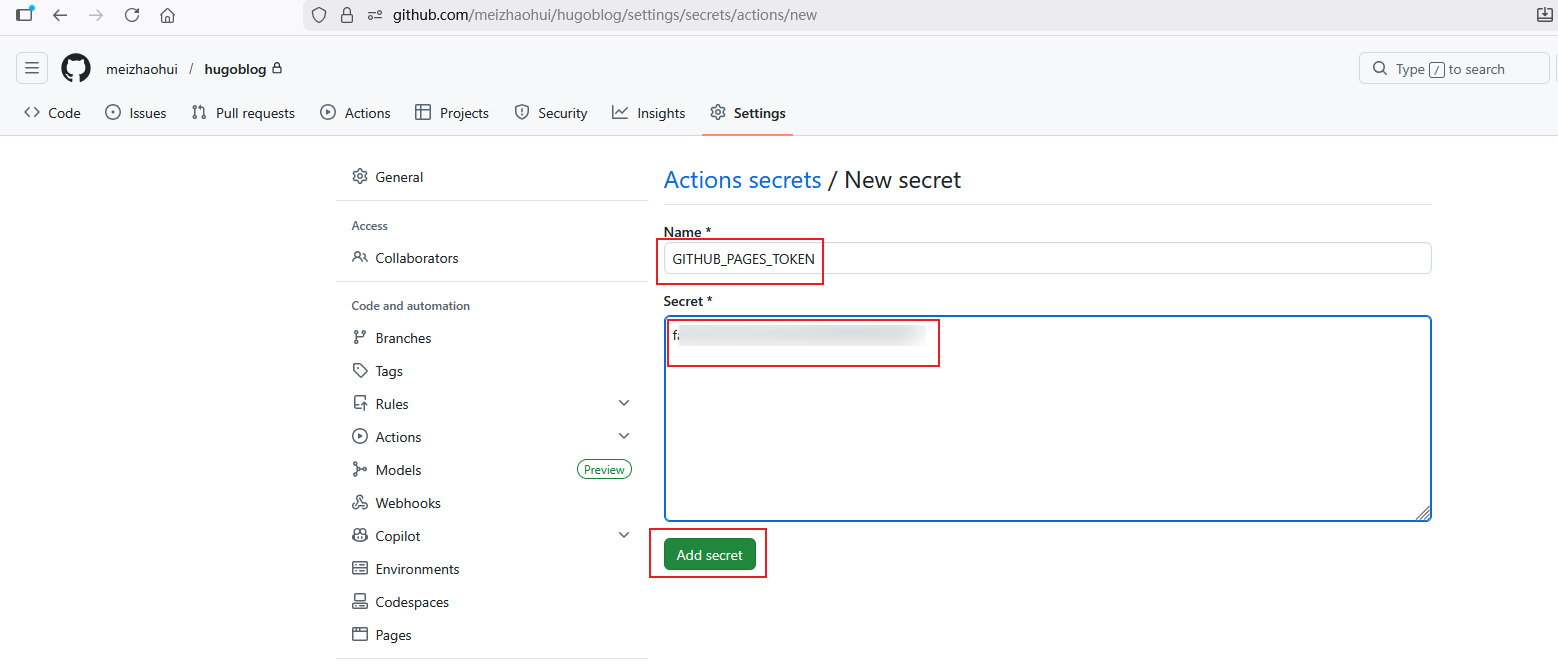
填写完成后,点击【Add secret】按钮完成创建。
此时,提示了一个异常,变量名不能以GITHUB开头!!
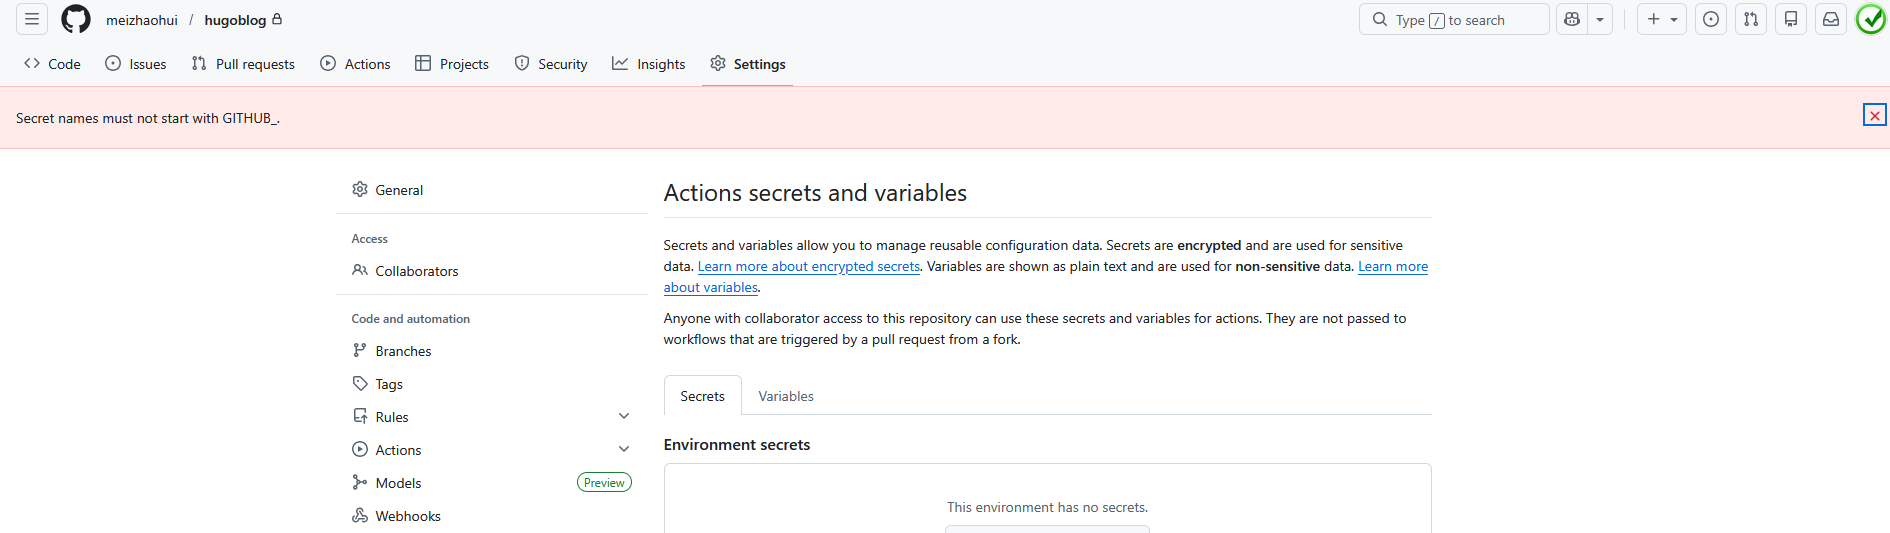
重新创建一次:
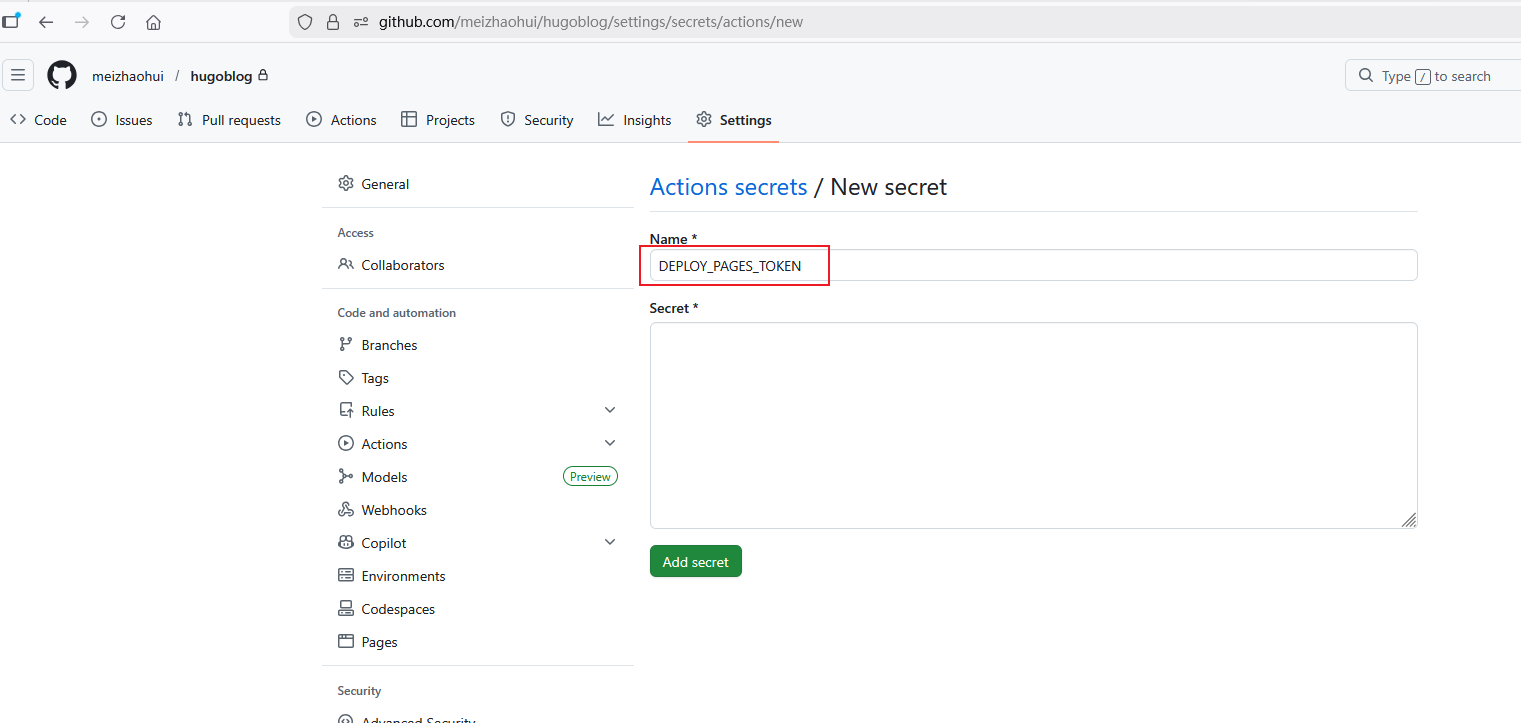
- Name处填写变量的名称,如
DEPLOY_PAGES_TOKEN (注意,这个名称有问题,不能以GITHUB开头) - Secret处填写上一节你获取到的Token值,不要让别人知道!!
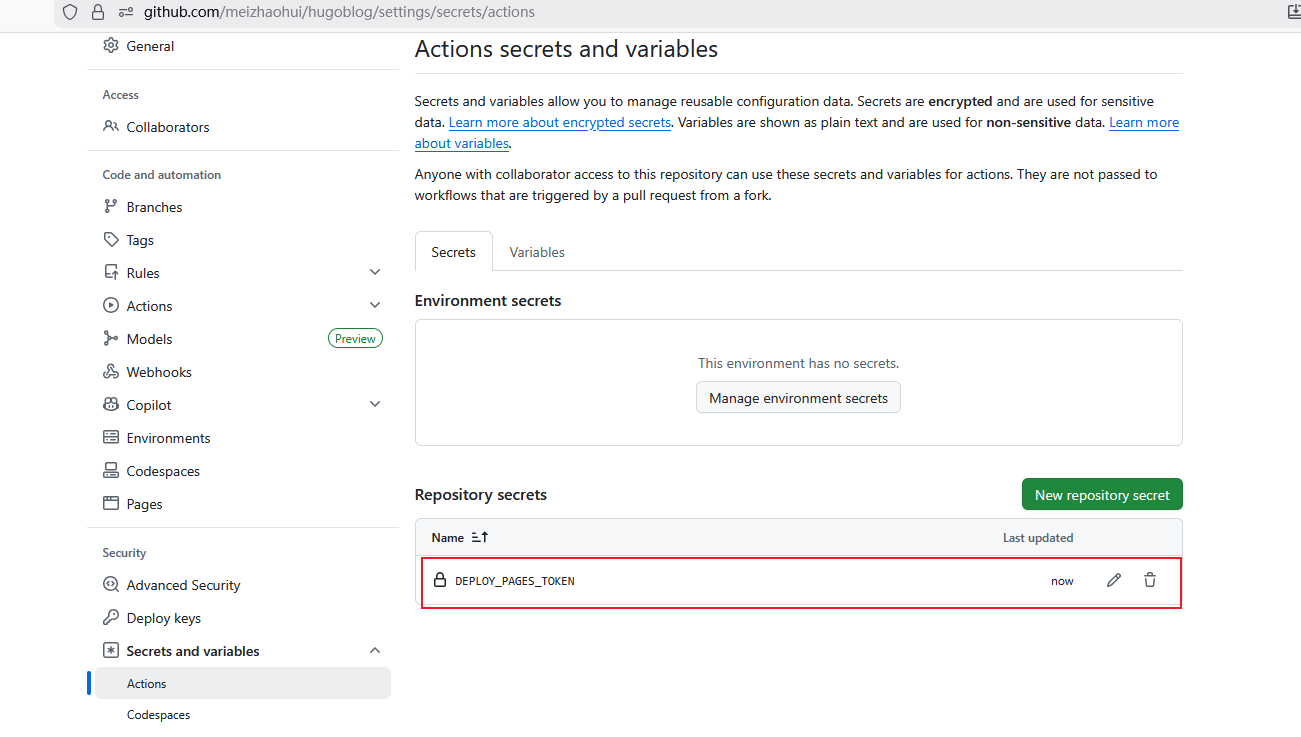
这次创建成功了,注意,创建的环境变量编辑时,不会显示之前的值!
4.3 配置工作流配置文件
在博客仓库根目录创建目录.github/workflows:
1
| mkdir -p .github/workflows
|
并在该目录下创建github_pages_deploy.yaml配置文件,内容如下:
 1
 2
 3
 4
 5
 6
 7
 8
 9
10
11
12
13
14
15
16
17
18
19
20
21
22
23
24
25
26
27
28
29
30
31
32
33
34
35
36
37
| name: deploy
# 代码提交到main分支时触发github action
on:
push:
branches:
- main
jobs:
deploy:
runs-on: ubuntu-latest
steps:
- name: Checkout
uses: actions/checkout@v4
with:
fetch-depth: 0
- name: Setup Hugo
uses: peaceiris/actions-hugo@v3
with:
hugo-version: "latest"
extended: true
- name: Build Web
run: hugo -D
- name: Deploy Web
uses: peaceiris/actions-gh-pages@v4
with:
# 私有TOEKN变量
# PERSONAL_TOKEN: ${{ secrets.你的token变量名 }}
PERSONAL_TOKEN: ${{ secrets.DEPLOY_PAGES_TOKEN }}
# EXTERNAL_REPOSITORY: 你的github名/你的仓库名
EXTERNAL_REPOSITORY: meizhaohui/meizhaohui.github.io
PUBLISH_BRANCH: main
PUBLISH_DIR: ./public
commit_message: auto deploy
|
然后将这个文件提交到Github仓库就会自动触发Action流水线自动部署到GitHub Pages页面上。
提交完代码后,在Github Action处可以看到触发了流水线任务:
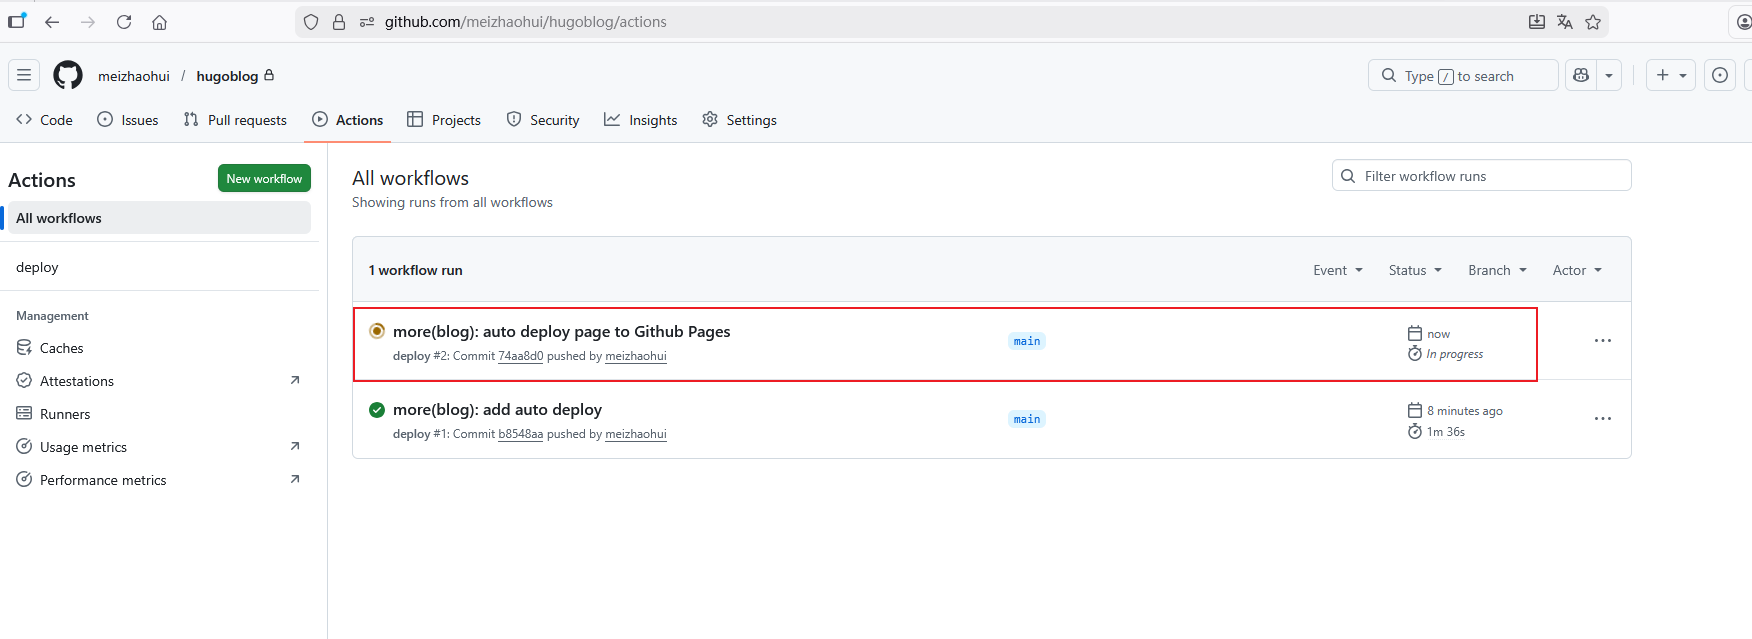
点进去可以看到流水线详情:
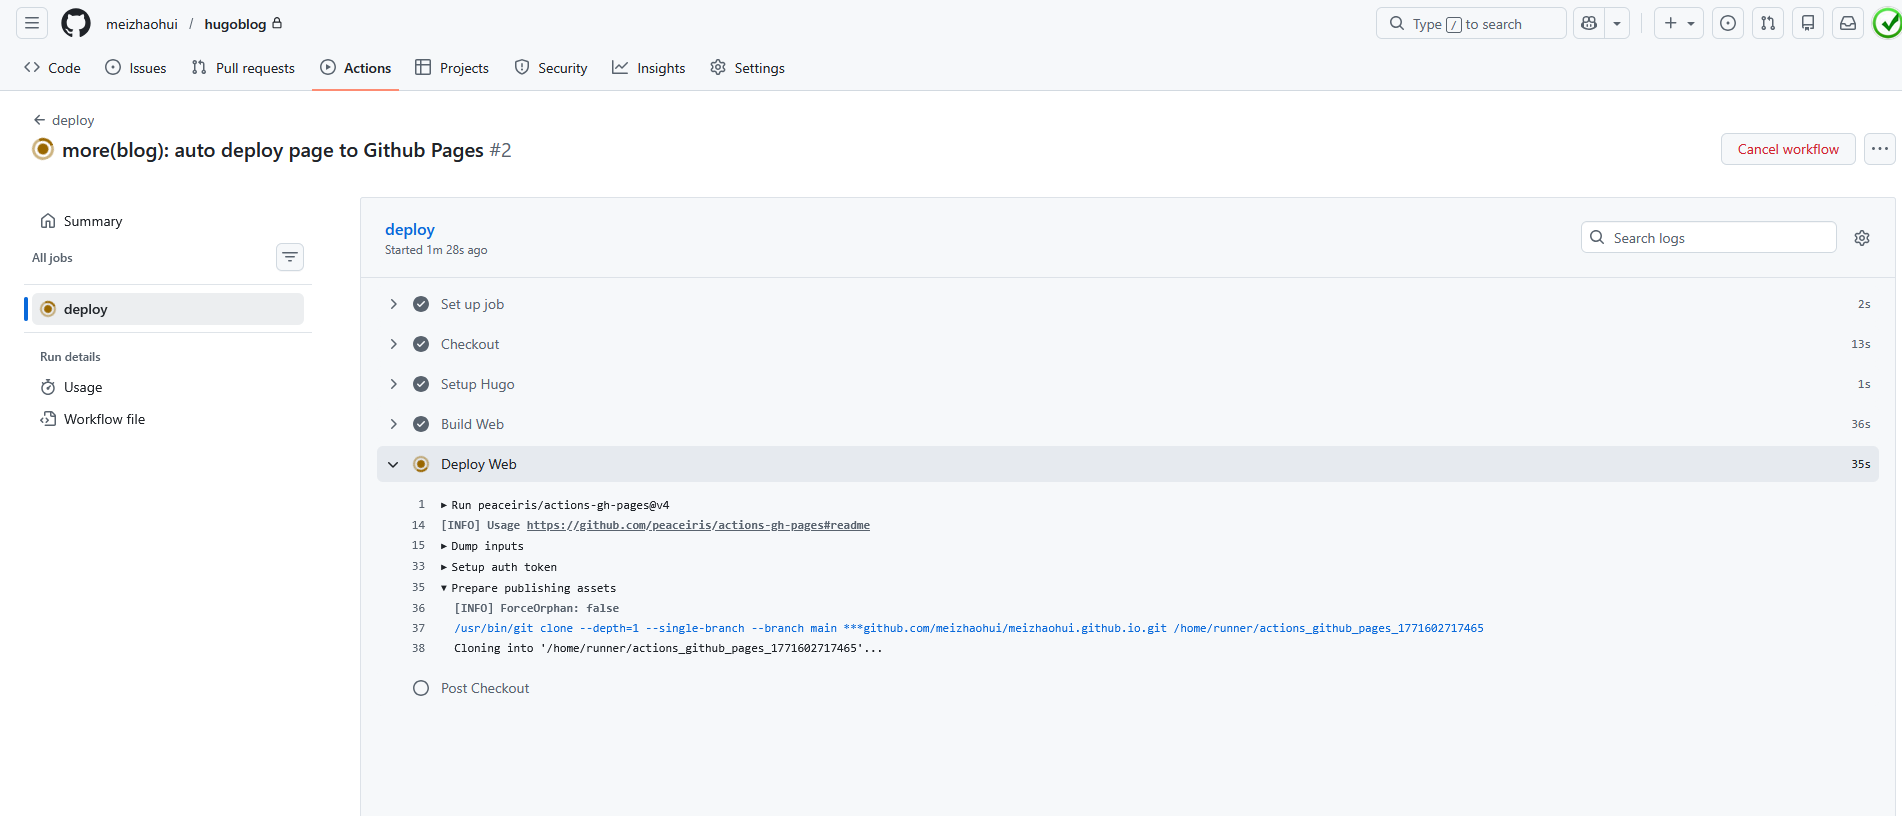
可以看到,流水线能够正常工作,不需要我手动提交静态文件到 meizhaohui/meizhaohui.github.io 仓库了,流水线会自动帮我提交并发布页面!!